Quick Start
Get started with FilterMate in 5 minutes! This guide covers the essential workflow.
This guide is updated for FilterMate v2.3.0 with intelligent Undo/Redo and automatic filter preservation.
Step 1: Open FilterMate
- In QGIS, load a vector layer (any format: Shapefile, GeoPackage, PostGIS, etc.)
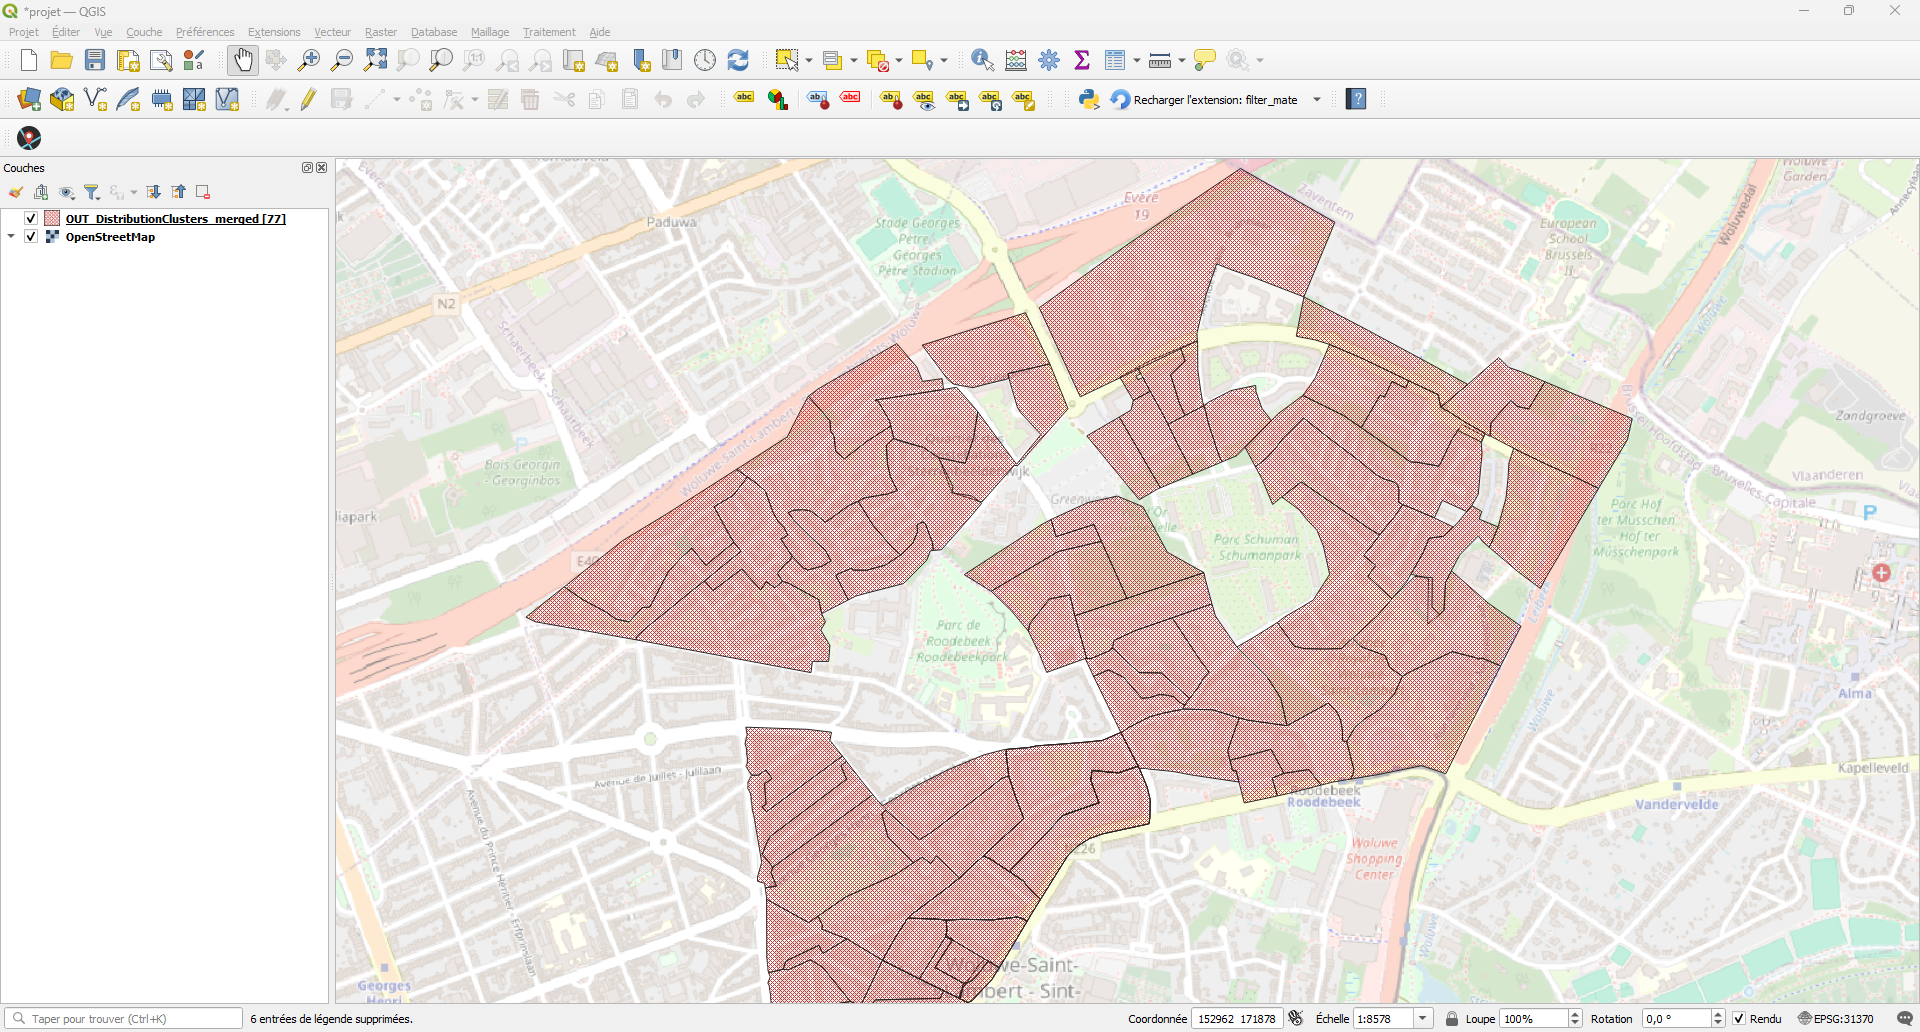
QGIS with a vector layer loaded and ready for filtering
- Click the FilterMate icon in the toolbar, or go to Plugins → FilterMate

Opening FilterMate from the toolbar
- The FilterMate dockable panel will appear (auto-activates when layers are added!)
FilterMate panel docked on the right side of QGIS
FilterMate will automatically detect your layer type and select the optimal backend (PostgreSQL, Spatialite, or OGR). For geographic CRS (EPSG:4326), metric operations are automatically converted to EPSG:3857 for accuracy.
Step 2: Select Your Layer
- From the Layer Selection dropdown at the top of the panel
- Choose the layer you want to filter
- FilterMate will load layer-specific settings and display relevant fields
Layer selected with filter expression ready to apply
Step 3: Explore and Select Features
FilterMate offers multiple selection methods in the Exploring section:
Single Selection
Use the Feature Picker widget to select individual features by clicking on the map or choosing from a dropdown.
Multiple Selection
Expand the Multiple Selection group to select multiple features at once using checkboxes.
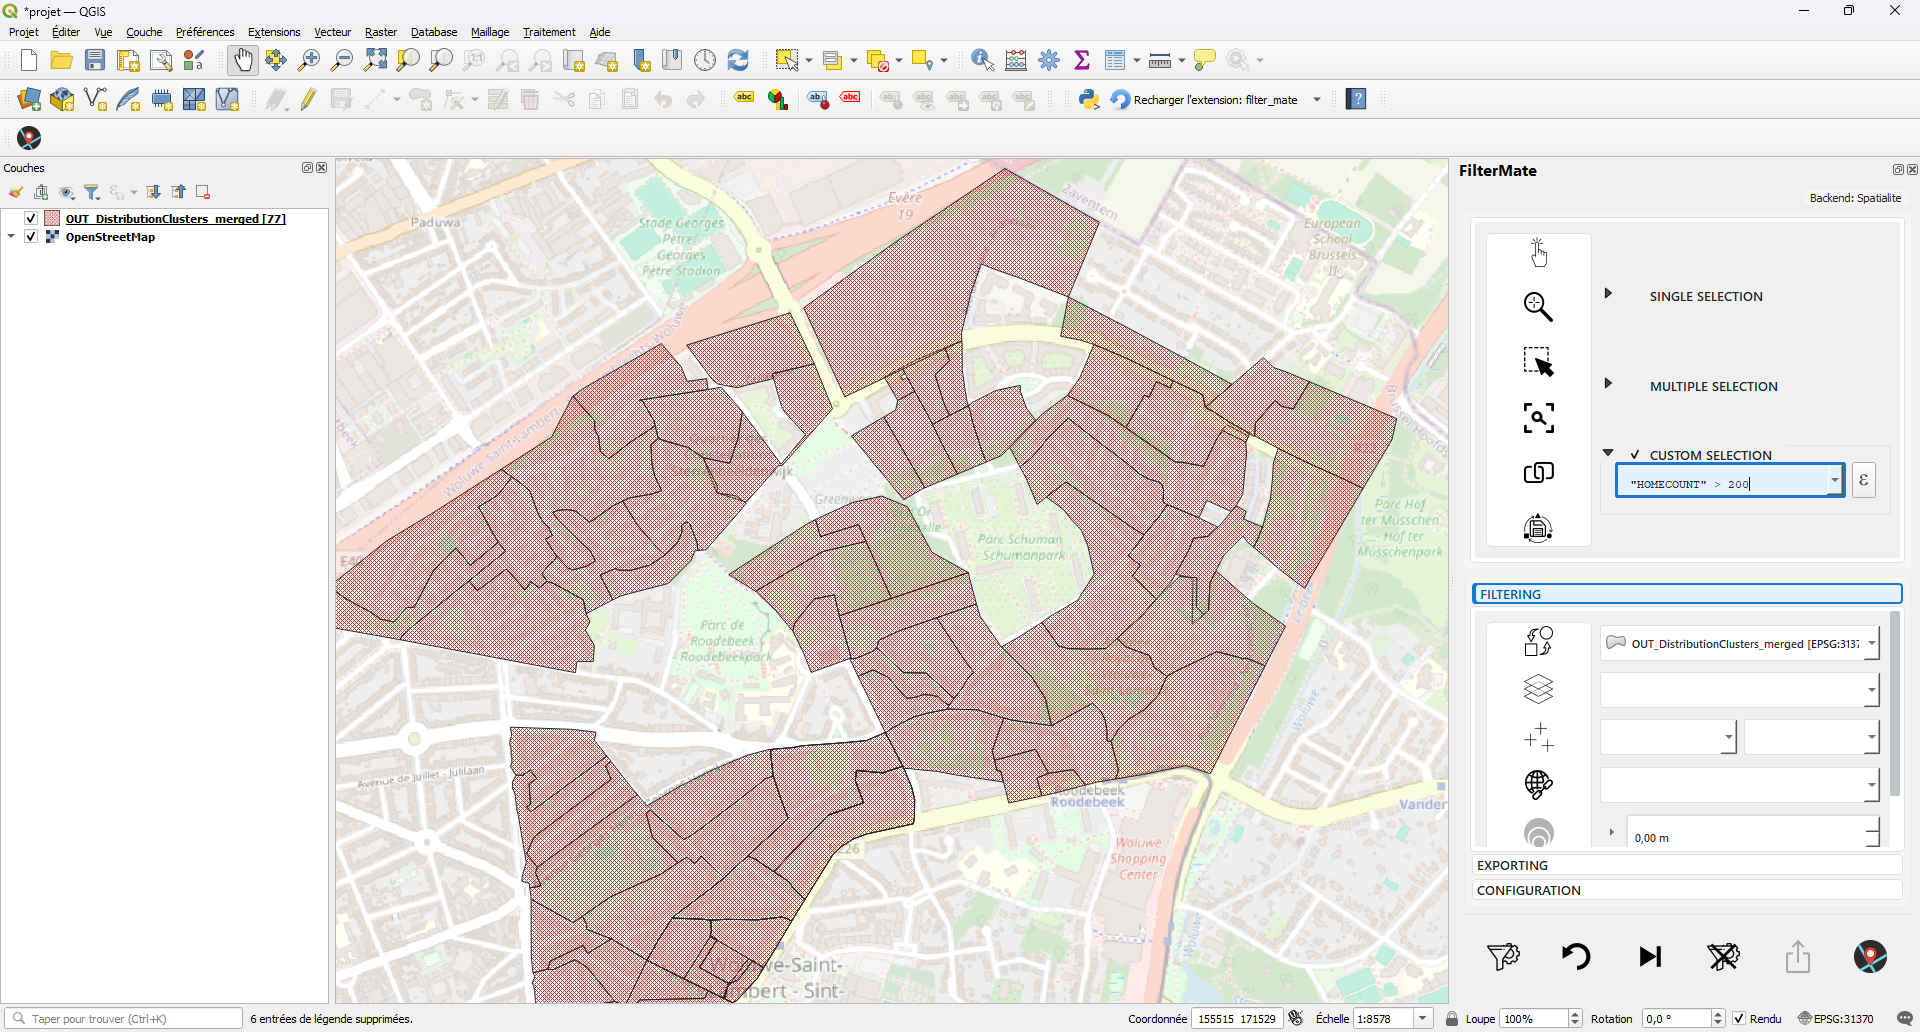
Custom Expression
Expand the Custom Expression group to create complex QGIS expressions for filtering:
"population" > 10000 AND "type" = 'residential'
Step 4: Apply Filters
Filtering Options
In the Filtering section, configure your filter:
- Layers to Filter: Select which layers will be filtered (source + remote layers)
- Combine Operator: Choose how new filters interact with existing ones:
- AND (default): Combines filters (intersection)
- OR: Union of filters
- AND NOT: Exclusion filter
- Geometric Predicates: Select spatial relationships (intersects, within, contains, etc.)
- Buffer: Add a distance buffer to your geometric filter
Apply the Filter
Click the Filter button (funnel icon) in the action bar. The filter is applied to all selected layers.
FilterMate now automatically preserves existing filters! When you apply a new filter, it's combined with previous filters using the selected operator (AND by default). No more lost filters when switching between attribute and geometric filtering.
FilterMate automatically uses the best backend for your data:
- PostgreSQL: For PostGIS layers (fastest, requires psycopg2)
- Spatialite: For Spatialite databases
- OGR: For Shapefiles, GeoPackage, etc.
Step 5: Review Results
After applying the filter:
- Filtered features are displayed on the map
- The feature count updates in the layer list
- Undo/Redo buttons become active in the action bar
Step 6: Undo/Redo Filters
FilterMate v2.3.0 features context-aware undo/redo:
- Source Layer Only: When no remote layers are selected, undo/redo affects only the source layer
- Global Mode: When remote layers are filtered, undo/redo restores the complete state of all layers simultaneously
Use the Undo (↩️) and Redo (↪️) buttons in the action bar to navigate through your filter history. Buttons automatically enable/disable based on history availability.
Step 7: Export (Optional)
To export filtered features:
- Go to the Export section
- Choose export format (GeoPackage, Shapefile, PostGIS, etc.)
- Configure CRS and other options
- Click Export
Common Workflows
Progressive Filtering (Filter Preservation)
Build up complex filters step by step:
# Step 1: Geometric filter - select by polygon
# Result: 150 features

# Step 2: Add attribute filter with AND operator
"population" > 10000
# Result: 23 features (intersection preserved!)
Multi-Layer Filtering
- Select features in your source layer
- Enable Layers to Filter and select remote layers
- Apply filter - all selected layers are filtered simultaneously
- Use Global Undo to restore all layers at once
Reset Filters
Click the Reset button to clear all filters from the selected layers.
Performance Tips
For Large Datasets (>50,000 features)
Install psycopg2 and use PostGIS layers for 10-50× faster filtering:
pip install psycopg2-binary
For Medium Datasets (10,000-50,000 features)
- Spatialite backend works well
- No additional installation needed
For Small Datasets (Less than 10,000 features)
- Any backend will work fine
- OGR backend is sufficient
Configurable Feedback
FilterMate v2.3.0 includes a configurable feedback system to reduce notification fatigue:
- Minimal: Only critical errors (for production)
- Normal (default): Balanced, essential info
- Verbose: All messages (for development)
Configure in config.json → APP.DOCKWIDGET.FEEDBACK_LEVEL
Next Steps
- First Filter Tutorial - Detailed step-by-step example
- Filtering Basics - Learn about expressions and predicates
- Geometric Filtering - Advanced spatial operations
- Backend Comparison - Understand backend performance
Troubleshooting
Filter not applying?
Check:
- ✅ Expression syntax is correct (use QGIS expression builder)
- ✅ Field names are quoted correctly:
"field_name" - ✅ Layer has features matching the criteria
Performance slow?
- For large datasets, consider installing PostgreSQL backend
- Check Performance Tuning guide
Backend not detected?
FilterMate will show which backend is being used. If PostgreSQL is not available:
- Check if psycopg2 is installed:
import psycopg2 - Verify layer source is PostgreSQL/PostGIS
- See Installation Troubleshooting